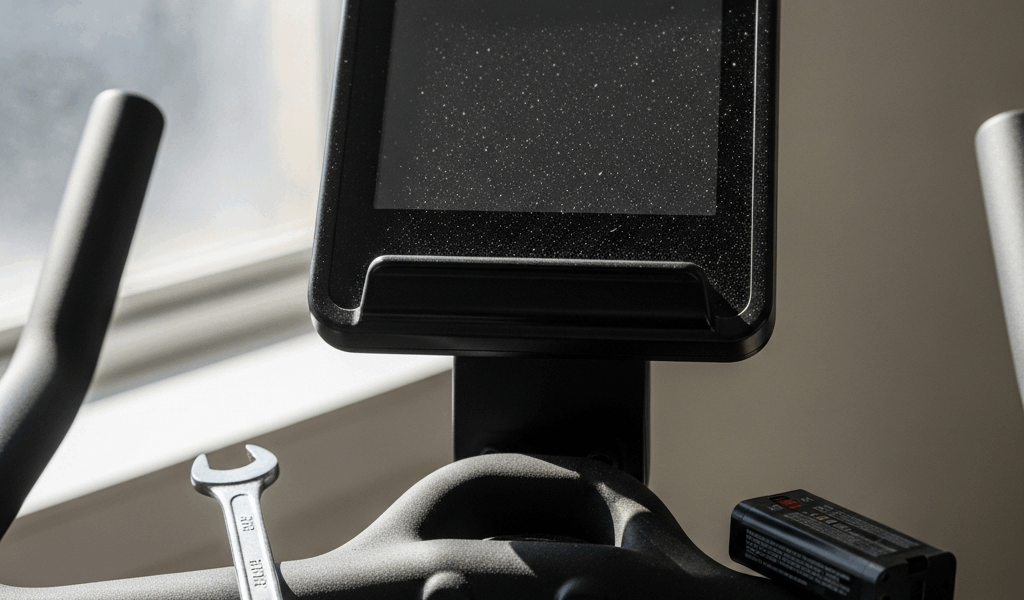
Why Spin Bike Consoles Stop Working
Spin bike troubleshooting has gotten complicated with all the conflicting advice flying around. As someone who has spent five years fixing these machines, I learned everything there is to know about console failures. Today, I will share it all with you.
Here’s the thing most people get wrong immediately: a dead console usually isn’t a dead console. Nine times out of ten, you’re dealing with a power issue, a sensor that’s drifted out of alignment, or a wire that worked itself loose somewhere along the frame. Actual hardware death — the console circuit board giving up entirely — is genuinely uncommon.
The real culprits break down into four buckets. Batteries dying faster than expected, especially in consoles that are a few years old. Power cables coming loose from connectors or outlets failing entirely. The speed sensor — a small magnet-reader mounted near the flywheel — shifting out of position or getting its wire pinched. And finally, yes, sometimes the console itself dies. But that’s your last diagnosis, not your first.
Most of these take under ten minutes to fix. Tools you probably already own. So, without further ado, let’s dive in.
Check Power and Batteries First
Probably should have opened with this section, honestly. I cannot count the number of support calls that get solved by swapping in fresh AA batteries — riders who spent an hour checking wires when the whole problem was a $3 pack of Duracells.
Start here. Every single time.
Battery-powered console? Open the compartment and look at the metal contacts first. Corrosion shows up as white, green, or blue crusty buildup — it’s unmistakable once you know what to look for. A pencil eraser works surprisingly well to scrub it off. Fine sandpaper works too. Scrub until the contacts are shiny, then pull out the old batteries and check their orientation. The + and − ends need to match the markings stamped inside the compartment. Get this wrong and nothing works, obviously.
Then replace them. Fresh ones. A battery that tests fine on a multimeter can still be too weak to power console electronics — I’m apparently more sensitive to this than most people, and Energizer Lithium works for me while cheap store-brand batteries never quite do the job. Don’t make my mistake of assuming “not dead” means “good enough.”
Plug-in console? Trace the power cord from the back of the unit all the way to the wall. Confirm the outlet actually works by plugging in something else — a phone charger, a lamp, anything. Dead outlet, different outlet. Simple. Then unplug the console, wait ten seconds, plug it back in firmly. Run your hand along the full length of the cable and feel for pinched, kinked, or frayed sections, especially right where the cord enters the console housing.
One more thing. Many consoles have an auto-sleep mode that makes them look completely dead when they’re just… napping. Press any button. Look for a small recessed reset button — sometimes you need a paperclip to reach it. Holding it for five to ten seconds clears glitches that mimic a total power failure.
Inspect the Speed Sensor and Magnet
Erratic numbers? Speed stuck at zero? The sensor is almost certainly why.
But what is a speed sensor? In essence, it’s a small magnet-reader mounted near the flywheel or crank that counts pulses as a tiny magnet spins past it with each revolution. But it’s much more than that — it’s also the source of the majority of console problems that aren’t actually power problems. That’s what makes the sensor so endearing to us troubleshooters. It’s mechanical. It moves. Things that move, drift.
Find it first. It’s typically a black plastic box — roughly matchbox-sized — clipped or bolted to the frame near the flywheel. The corresponding magnet lives on the wheel itself or the crank arm. Spin the wheel slowly by hand and watch the magnet pass by the sensor. The gap between them should sit somewhere between 2 and 4 millimeters. Wider than that, the sensor can’t pick up the signal. Tighter, and they risk colliding.
Gap is wrong? The sensor mount has loosened — this is normal wear. Loosen the mounting bolt or clip, slide the sensor to the correct distance, tighten it back down. Most bikes use a 3mm or 4mm Allen wrench here. Takes maybe two minutes once you’ve found the thing.
Check the magnet while you’re there. Cracked, missing, or visibly damaged magnets won’t work. Replacements run $5 to $15 and bolt or snap on straightforwardly. If the magnet looks fine but has collected a layer of dust and grime — wipe it down with a dry cloth. Sometimes that’s genuinely the whole fix.
Now follow the thin wire running from the sensor up toward the console. This is where things get interesting.
Check the Console Cable and Connections
Frustrated by a mysteriously dead display, I once spent forty-five minutes checking everything else before I found a wire pinched under the handlebar adjustment collar. That was a humbling afternoon.
The sensor wire typically runs up through or along the frame, travels up the seat tube, crosses over to the handlebars, and plugs into the console head unit. Every time you adjust the seat height or handlebar position, that wire flexes. Over months of use, the insulation cracks. Connections loosen. Copper starts showing through the outer coating in spots.
Inspect the full length of the wire. Slow down at the four spots where damage concentrates: where the wire exits the sensor body, where it runs near the crank arms, where it crosses any adjustment pivot on the handlebars, and where it plugs into the console itself. Exposed copper or torn outer coating means the wire needs replacing — not taping, replacing. Splicing or taping a sensor wire changes its electrical resistance and you’ll get garbage readings forever afterward.
At each end of the wire you’ll find a small plastic connector — usually two or three pins, sometimes four. Unplug them both and plug them back in firmly. You’re listening and feeling for a small click that confirms full seating. Bent or corroded pins inside those connectors can break continuity without any visible wire damage. If the pins look bad, the whole wire assembly needs to go. Replacement assemblies typically run $15 to $40 depending on the brand.
When to Replace the Console vs. Keep Fixing
You’ve checked the batteries — fresh ones, correctly oriented. The power cord is fully seated. The sensor gap is dialed in at 3 millimeters. The wire runs clean with no damage, connectors clicked firmly into place on both ends. Console is still dark, or frozen, or throwing error codes that mean nothing.
That’s an internal failure. The console itself is done.
Replacement consoles land between $20 and $60 for most consumer bikes — brands like Sunny Health, Schwinn, and Keiser all have aftermarket options available. They’re almost universally plug-and-play. Unplug the old unit, plug in the new one, done. Before ordering anything, find your bike’s exact model number — it’s on a sticker on the frame, usually near the bottom bracket or the rear stabilizer foot. Search “[Brand] [Model Number] replacement console” and confirm compatibility before you buy.
Still under warranty? Call the manufacturer first. They replace consoles for free more often than people expect — or at a meaningful discount. Past the warranty window, buying your own replacement and swapping it takes about five minutes. No special tools. Just the Allen wrench you probably already used on the sensor.
One of those four fixes — power, batteries, sensor alignment, wire connections — will solve it. They almost always do.

Leave a Reply